Raspberry Yogurt Cake

Last summer, little E and I went raspberry picking.  I wasn’t sure how it would go with a (then) 2 1/2 year old.  Would he be distracted by a mud puddle?  Would more raspberries end up in his belly than the pail (as happened in his favorite Blueberries for Sal?)  But he impressed me.  He quickly learned to avoid the unripe berries, and though there were a few blushing yellow berries that plunked, stem and all, into our buckets, all in all we had a good haul.  I spread the berries on a cookie sheet and froze them individually, and then slid them into a bag.

One cup of these beehive-shaped fruits remained from our excursion together, just enough for a simple winter snacking cake inspired by a recipe from the Gourmet archives (and which was featured by Daniel).  Just barely sweet, homey, and tender.  This is not a fancy cake, but rather like a cozy blanket to snuggle into when spring is just stubbornly not coming.  The berries cook down into intense pockets of jam scattered throughout the moist crumb.   Rather than frosting, sugar sprinkled over the top melts into a subtly crunchy crust.

An everyday cake for any day of the week,  with maybe a dab of whipped cream or creme fraiche to dress it up for Saturday night.   But me and little E enjoyed it straight out of the pan.


 Yogurt Raspberry Cake

  • 1 cup all-purpose flour
  • 1/2 teaspoon baking powder
  • 1/2 teaspoon baking soda
  • 1/4 teaspoon salt
  • 1/2 stick unsalted butter, softened
  • 2/3 cup sugar
  • 1/2 teaspoon pure vanilla extract
  • 1 large egg 
  • 1/2 cup low-fat yogurt (if using thick yogurt, thin with a little milk)
  • 1 cup frozen raspberries, defrosted, or fresh
  • 1 1/2T brown sugar

Preheat oven to 400F. Butter and flour a 9-inch round cake pan.  Whisk the flour, baking soda, baking power and salt togther, then set aside.  Beat the butter and sugar together with an electric mixer until fluffy, a few minutes.  Beat in the egg and then the vanilla.  Add 1/3 of the flour mixture and beat in, then 1/2 the yogurt, then add another 1/3 of the flour mixture and the rest of the yogurt.  Stir in the last of the flour mix, but only until it’s just mixed in.  Spread the batter into the prepared cake pan.  Cast the berriees over the top, and sprinkle with brown sugar.  Bake the cake until it is golden and a tester comes out clean (about 25 or 30 minutes).  Allow to cool in the pan 10 minutes, then invert onto a rack.   Allow to cool another 10 minutes or so and enjoy warm.

Flour’s Chocolate Cupcakes with Crispy Magic Frosting

I don’t have to tell you I like baking cakes.  (Almost as much as I like eating them).  But as for frosting–if you think back you’ll realize you haven’t seen it around these parts, not, at least when this sister is posting.   Maybe I’m just lazy–by the time I’ve made the cake, I’ve already mentally closed up shop and have enough dirty dishes staring me down, topsy-turvy and dripping in the sink, and am dissuaded.  (I already have payoff in the form of a cake, after all).  Maybe I’m just impatient.  No digging in while I wait for the cake to cool enough to smooth on frosting?  Maybe I’m virtuous–why add more sugar into the mix (doubtful explanation, but thought I’d throw it out there).

Whatever the reason, it’s certainly not a lack of love for frosting.  How could it be?  I’m not above using a knife to surreptitiously get a little bit of frosting that’s left on the plate after serving myself cake.  (Even if the frosting arguably is part of the next piece to be sliced.  If it’s debatable, I’ll take it).  It’s a noble tradition for us, as even our mother admits to having “accidentally” eaten half the icing off of a cake without realizing it.

I may beg off frosting my cakes, but when it came time for little E and baby H’s joint birthday party (yes, they are 7 weeks apart; did I mention I can be lazy?) I knew I couldn’t present a room full of toddlers with icingless cupcakes.  Can you imagine the scandal?

I figured I couldn’t go wrong with Joanne Chang’s recipe (from the Flour Bakery cookbook).  Especially since it’s her take on a “dump cake”; as in, dump all the ingredients into a bowl and stir.  Sounds good. 

Even better, the batter can sit in the fridge for a few days before baking.  So I mixed it together on Friday night, and was able to still pull off fresh-baked cupcakes for the party on Sunday.  The batter goes from very liquid to very firm in the fridge, very easy to scoop into your cupcake tins.  (I did make a few cupcakes Friday night just to “test” things out.  I believe it was my sister-in-law Colleen who pointed out that cupcakes are better to make for parties than cake because you can sample beforehand).

As for the icing, I gritted my teeth and accepted the challenge of making an egg-white based buttercream.  I’d done this in my class at the CSCA, where we boiled sugar in water and then carefully poured a stream of this hot liquid candy to egg whites being beaten in a stand mixer, while being warned:  take care not to let it splatter.  (I burned myself making caramel in high school.  The wounds are healed, the memory is raw).  Scary.  I’ve also seen versions where you beat the eggs by hand over a double boiler until they stiffen.  Sounds like a lot of effort–I tried to beat egg whites once by hand.  It’s not fun.   This recipe’s method was a perfect combination of low danger and reduced effort:  whisk the egg whites and sugar together over simmering water until hot, then pour into your mixer and fire it up.  The egg whites aren’t necessarily hot enough to be pasteurized by the mild heat, so I used store-bought pasteurized whites.  (Even if I were using boiling sugar syrup, I still would use pasteurized eggs for a room full of toddlers, out of caution as I’ve read mixed reports about whether or not this method kills all the nasties. Talk about spoiling the party!  Talk about terrible party favors!)  

Because heat helps meringues to grow higher and loftier, the egg whites started to foam ever so slightly over the heat, also indicating that they were soon ready to be transformed into glossy, glistening clouds. 

As a side note, this is what is technically known as a Swiss meringue:  because of the slight cooking of the sugar and egg whites, the meringue has a lovely sheen and is also far more stable–and less difficult to irreparably mess up–than completely raw meringues, also known as a French meringue.  The sugar syrup method–scarier, but also most resistant to abuse–is known as Italian-style meringue:  see here if you’re curious how they all compare. Who knew meringues changed as they crossed borders?

When your meringue is lovely and lofty and snow-white and magical, add your soft butter and beat it in–at first it’s clumpy but keep beating and it will get nice and smooth again, and take on a soft cream color thanks to the butter.  (Make sure it’s soft.  I heard some unhappy stories in my baking class about too cold butter snapping the delicate tines on a whisk.  Not fun). 

Finally, while one might argue there is never too much frosting, I am compelled to note that I tripled the amount of cupcakes and only doubled the corresponding amount of icing, I was still overwhelmed by extra frosting after decorating all my cupcakes (and sampling).  Just to bear in mind, but maybe you like it that way.  Despite the name, my frosting never got crispy, but it still was pretty magical, in part because I finally got up the guts to make egg white buttercream.  I’m not going to say I’m not going to skip making icing from now on, but as this frosting is so delicious and as the process is not as scary as it initially seemed, I might be easily persuaded.

Flour’s Chocolate Cupcakes with Crispy Magic Frosting (adapted from Flour; available here)

Makes 12, doubles well.

Batter

  • 2 oz unsweetened chocolate, chopped
  • 1/4c Dutch-process cocoa powder
  • 1c sugar
  • 1/2c (one stick) unsalted butter
  • 1/3c water
  • 1/2c milk
  • 1 egg + 1 yolk
  • 1/2t vanilla extract
  • 1c flour
  • 1t baking powder
  • 1/2t baking soda
  • 1/2t salt (kosher if you have it)
Prepare your muffin tin by lining with 12 standard liners. In a heatproof bowl, combine chocolate and cocoa powder.  In a saucepan over medium heat, heat the granulated sugar, butter, and water, stirring occasionally, until the butter melts and the sugar dissolves. Pour the butter mixture over the chocolate and whisk until the mixture is smooth and all the chocolate is melted.  The more evenly and finely you chop the chocolate, the faster you’ll get there.  Let cool slightly (just enough so it’s not still hot) and whisk the milk, egg, extra yolk, and vanilla into the chocolate mixture until combined.
In a bowl, stir the flour, baking powder, baking soda, and salt until blended. Add the flour mixture to the chocolate mixture and whisk until smooth.  Let the batter sit at room temperature for 1 hour or cover and refrigerate for up to 3 days.
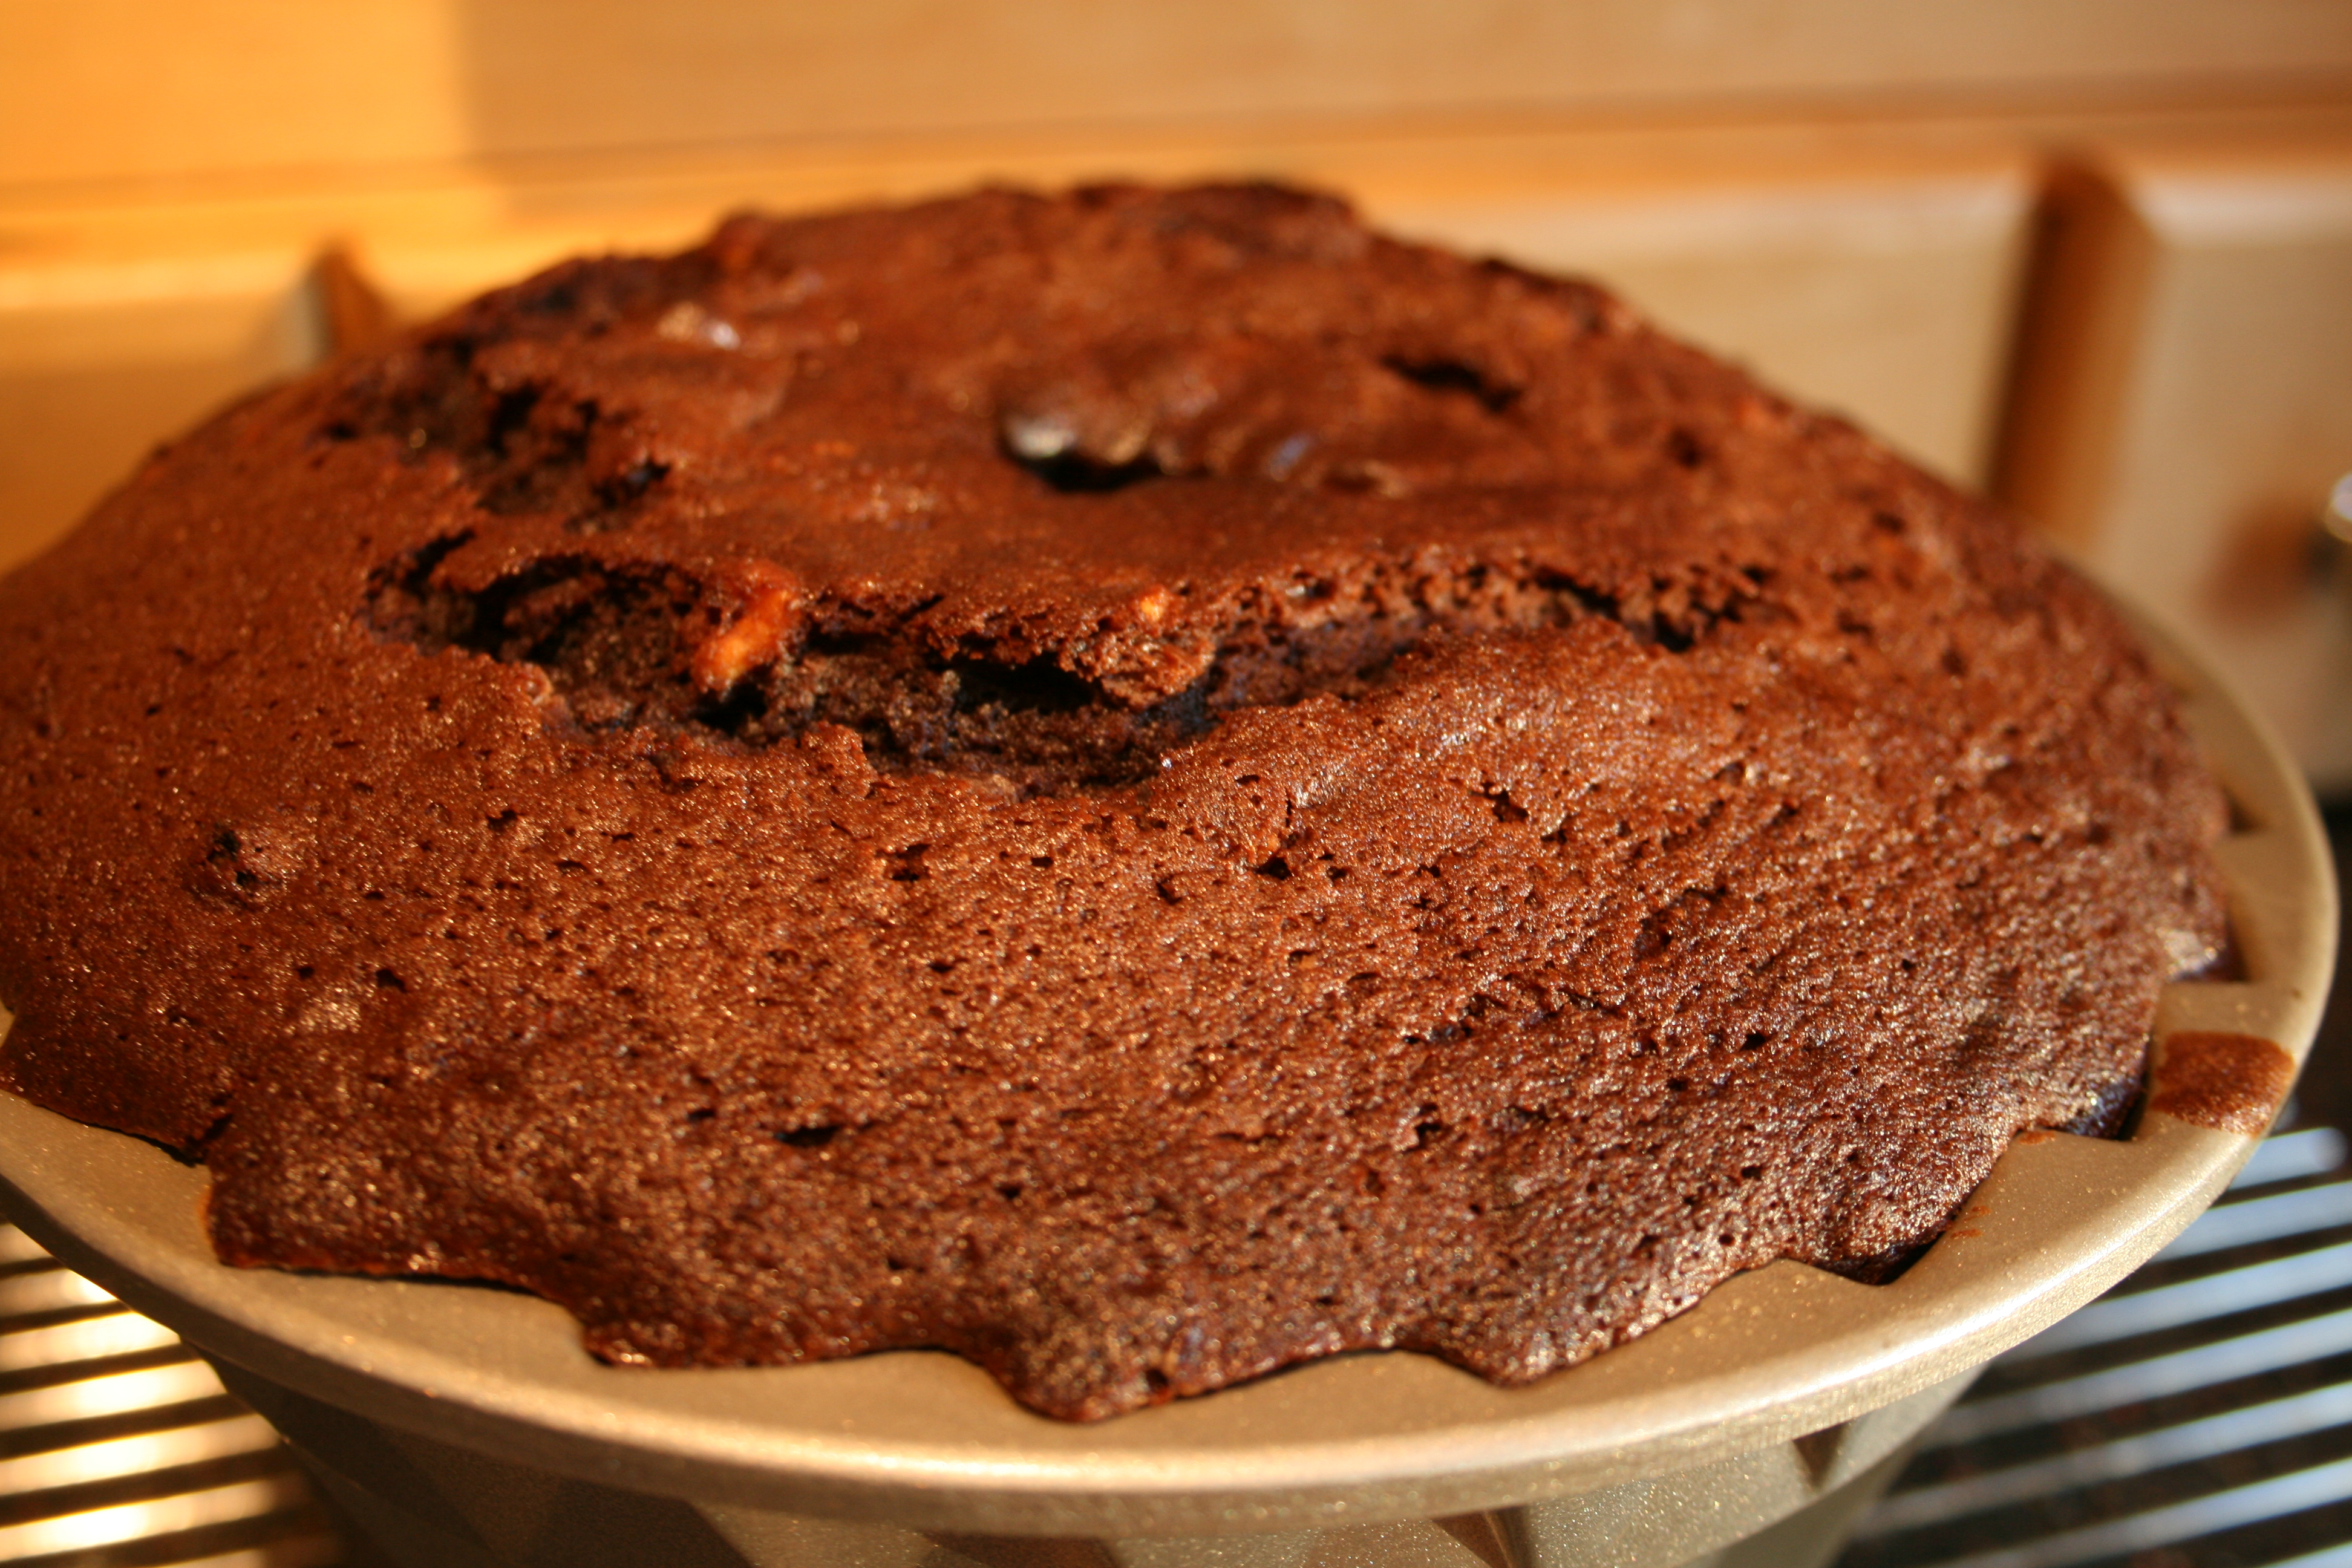
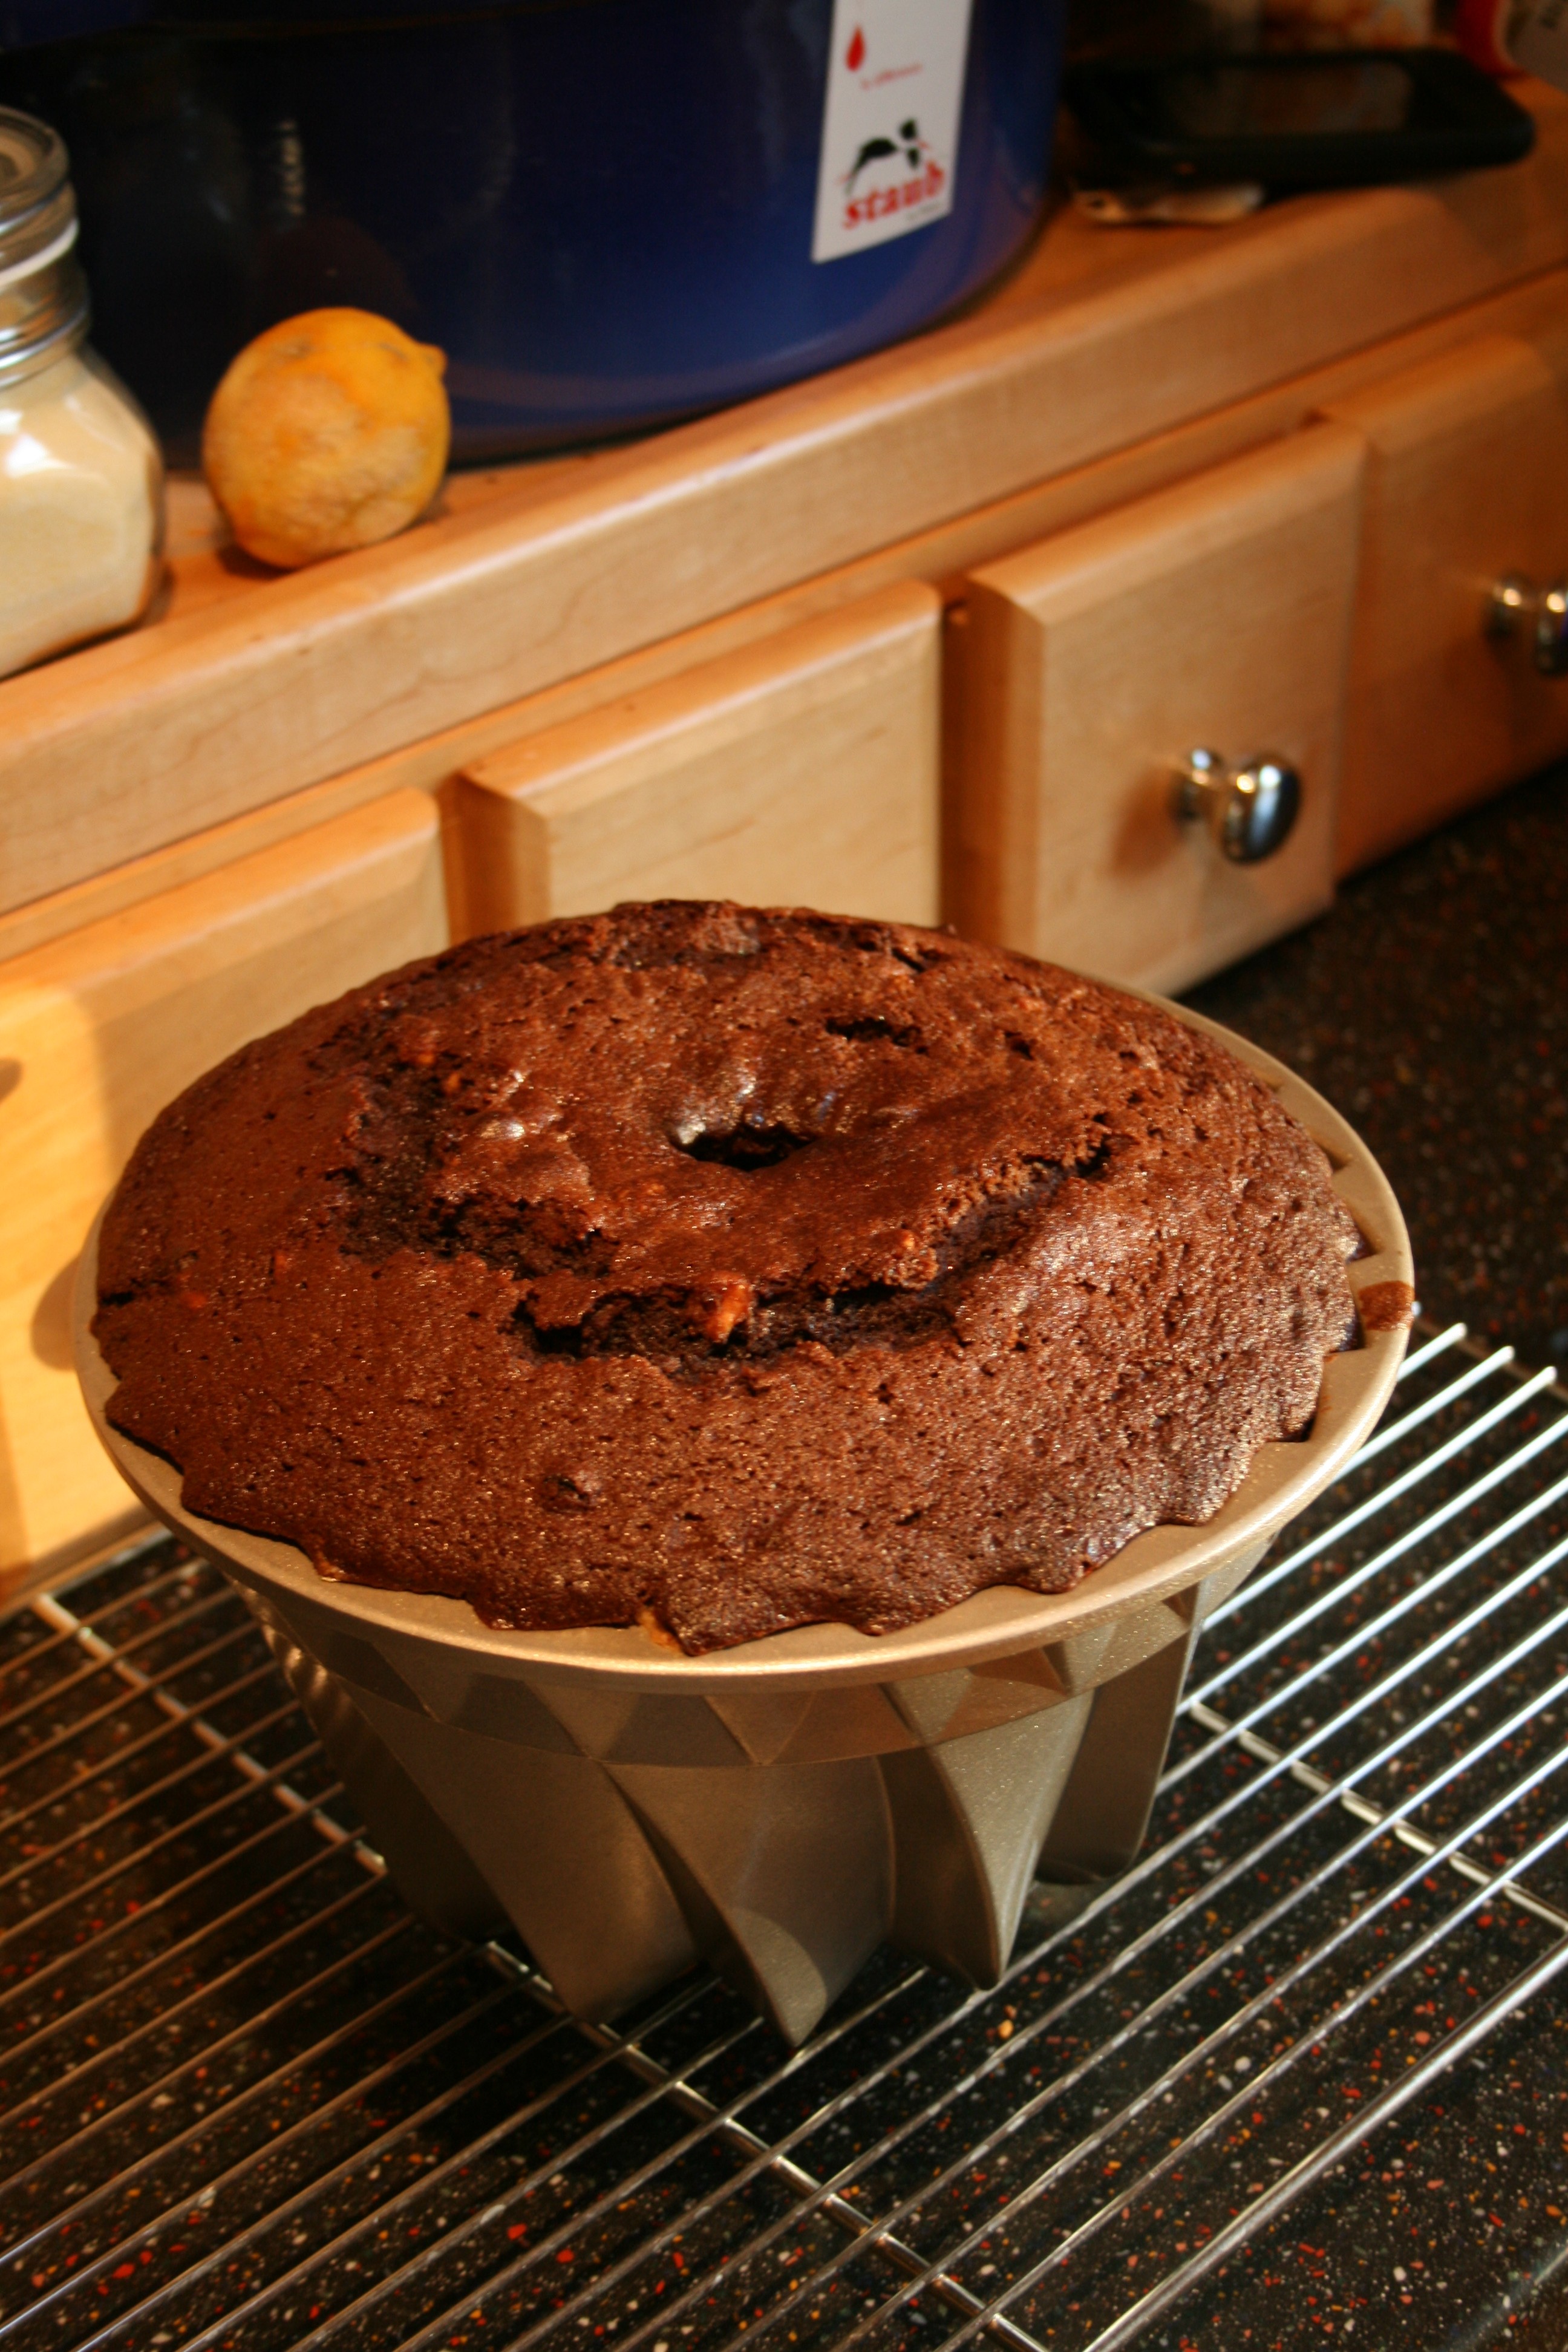
When ready to bake, preheat the oven to 350F.  Spoon the batter into the muffin tins.  (I actually got a few more cupcakes than 12).  Bake for 30 minutes or until the tops spring back when pressed lightly with a fingertip. Cool completely on a wire rack.  
Frosting
  • 2/3c granulated sugar
  • 2 pasteurized egg whites
  • 1 1/2c (3 sticks) of room temperature butter, very soft.
  • 1 2/3c confectioner’s sugar
  • 1/4t kosher salt
  • 2T milk
  • 1T vanilla extract
In a heatproof bowl, whisk the sugar and egg whites. Fill a saucepan half full with water and bring to a simmer.  Set the bowl over the water but do not allow the base of the bowl to touch the water.  Whisk for 3 to 5 minutes or until the mixture is hot to the touch. It will thin as the sugar melts, and will also get slightly foamy and lighten as you whisk. 

Pour the mixture into a standing mixture and beat at medium-high speed for 6 minutes or until the mixture becomes thick and white like a meringue and is cool to the touch.  It will be white and glossy.  At medium speed, add the butter a few chunks at a time, beating for 3 to 4 minutes or until it is all incorporated.   Add the remaining ingredients, and beat until smooth and satiny. (If not using immediately, transfer to an airtight container and store at room temperature up to 3 days or up to two weeks in the fridge; allow to soften and then beat in the mixer for a few minutes until smooth.)  You can try this with a hand mixer, but be aware it will take longer.  If using, either add the food coloring and beat it in, or fold it in with a spatula.

Decorate with a pastry bag fitted a star tip or spread with a spatula.  Note that “cupcake decorating kits” that seem to be marketed everywhere these days (especially the “kid friendly” ones) do not work well with this type of icing because it is not pourable into the small mouths of the little plastic squeeze bottles; it’s preferable for this reason to use a pastry bag if you want to pipe on frosting.  

Almond Financiers

I’m almost inclined to say that the reason I like these almond financiers so much is because they are just so easy.   If you suddenly find you need a quick dessert, these are your saviors.  If you just want something sweet, but don’t have the energy for much effort in the kitchen, these fit the bill.   If you want a light note to end a sophisticated dinner or a light bite in the afternoon with tea, these can go either way.

But really, I just can’t resist tiny little cakes that remind me of marzipan.  Enjoy a similarly miniature espresso and pretend you are lingering over dinner at a fancy restaurant!

I’ve posted about chocolate financiers here before.  Now, some might contend that you can’t improve on chocolate; and I am not here to say one is better than the other, but that both are worth your time. 

These little cakes are moist and satisfying thanks to the mellow flavor of almonds.  Their petite profile makes them elegant and chic (would you expect any less of something called financiers?)

I use my immersion blender to finely chop the almonds so that they are freshly ground.  I prefer using this to a food processor because the quanities are so small, and, psychologically, it just feels like there are less dishes to clean in the end.  You can also use almond flour if you have that.

I make these in mini muffin tins, but you can make larger financiers in regular cupcake molds filled partially full (as I did here).  Adjust the baking time upwards somewhat.  This recipe was inspired by a Nick Malgieri recipe.  Enjoy!

Almond Financiers

  • 1C (4 oz approximately) of almonds, ground
  • 1 C sugar
  • 1/2C flour
  • 4 egg whites (1/2 cup)
  • 8 T (one stick) of melted butter
  • 1t almond extract

Heat the oven to 375F.  Grease a mini-muffin pan.  Mix the almonds, sugar, and flour.  Stir in the egg whites and almond extract, then fold in the butter.

Fill the wells of the muffin pan about halfway full.  Bake until the cakes are risen, golden, and are firm to the touch, about 18 minutes (or longer if making larger financiers).  Remove from the muffin pan and allow to cool.

Attempting a German Chocolate Cake

I had a special request for a German chocolate cake.  My first instinct was to go the easy route and make a big 9 x 13 and call it good, but then there was that nagging voice in my head saying, “Karen — there is no time like the present to take up the challenge of a layer cake!”  I was especially inspired after talking with my friend Jen who had just completed a wedding cake (her full time gig is an attorney) for her friend’s wedding.  She made a three layer carrot cake.  Assembled, it was three tiers each of a 11 in diameter cake, a 9 in diameter cake, and a 6 in diameter cake.  It was beautiful.  She skillfully mastered the beauty on her first try, adopting and tweaking her family recipe to accommodate the random assortment of cake pans and times.  For decorations, she used lovely gerber daisies!

Anyway, after seeing her amazing creation I decided it was high time to stop being intimidated by a layer cake.  German Chocolate Cake was going to be my crucible for this next step, deeper into baking.  Fortunately Jen lent me the Joy of Baking, which alleviated a little of the stress because it gives such matter of fact descriptions and explanations for why each step is important.  Jen also lent me one of her pans.  I decided I invest in my own and purchased a standard one from Fred Meyer.  I also found amongst my wares a cheesecake pan, also 9 in in diameter.  The reasoning for three separate pans was to make the batter only once and bake them once.  I was afraid of any melting of the creamed butter or other random mishaps of stale batter, hanging out.

For the recipe, I had a few too many options.  It seems that everyone has her own version of a German Chocolate Cake, from Nestle’s, to Trisha Yearwood (yep, that country singer), to the old stand by on the German’s Baking Chocolate box.  I opted for the last recipe.  A little research informed me that there is nothing uniquely “German” in the cake other than the surname of the man who crafted the chocolate:  “German.”  Any associations you’d like to make with the coconut icing to traditional German sweets is a lost cause.  Of course, does it make it any less delicious?  No.

And so, I set about with the recipe.  You can find it here:  http://www.kraftrecipes.com/recipes/original-bakers-germans-sweet-51120.aspx.

I meticulously greased and floured the pans being very cautious on top of it all to use parchment paper.  The three pans, all of different designs though all purporting to be of the same diameter, were not the same.  One had a glass bottom and my Fred Meyer purchase seemed significantly smaller than the high quality one from Jen.  Oh well I said, shrugging my shoulders, and likely leaving a cloud of flour in my wake.  Because this three layer cake does not require icing on the sides, I could get away with three layers of different sizes.

Prepared pans

One of the first steps is to pour boiling water over the chocolate. This shocked my chocolate making sensibilities because it simply destroys the chocolate.  It’s no longer thick or even as sweet.  But, what could I do but follow the recipe?  

Then I creamed the butter

And then beat in the chocolate, buttermilk, and dry ingredients.  I then gently folded in the beaten egg whites.  I had an instant memory of Sleeping Beauty where three good witches (Flora, Fauna, & Meriweather) are trying to bake a cake without magic.  I knew better than to fold in the eggs with the shells…  Still isn’t pretty.

I then poured the batter evenly into the prepared pans, baking the two metal cake pans first which baked in the normal time but the third I baked separately (because it wouldn’t fit) with a glass bottom for a little longer.

And so, I made the frosting/filling the next day and assembled this decadent cake.

It’s not a pretty cake, especially displayed on plastic, but it was awfully delicious.

Valentine’s Day Approved Muscovado Chocolate Cake

I’m not going to go into all the reasons chocolate is de rigeur on Valentine’s day.  Chocolate = Love.  And even though there are those who don’t like Valentine’s day, who doesn’t love chocolate? (Though curiously, I have a friend, from Belgium no less, that can’t stand the stuff.  I still puzzle over this). 

So–chocolate is a given.  The question is, how are you going to have it?  The tried and true methods–brownies, cookies, candies–are never going to disappoint, but sometimes a slight variation is in order.  Maybe an exotic ingredient will do the trick?

Enter muscovado.  There’s light brown sugar, there’s dark brown sugar, and there is muscovado sugar.   The molasses flavor that makes brown sugar so delicious is surprisingly intense in muscovado.  It’s probably fair to say it’s like brown sugar in 3D.

My husband’s birthday was this Friday, and he was just coming off of a busy period at work.  And he loves chocolate.  Marija at Palachinka recently made muscovado brownies, and I knew before I even finished reading her post that I needed to make this.

This cake is leavened with whipped egg whites, which is probably unusual stateside where we rely on baking powder to raise our cakes. (I find this to be more of a cake than a brownie, precisely due to the fact that it is leavened.  Isn’t the brownie a happy accident in which someone forgot to add the baking powder?)  I sometimes find that the beaten egg white method of lifting a cake results in a dry product, but here, probably thanks to the moisture of the muscovado (and let’s face it, a lot of butter) it was tender and moist.  The muscovado and dark coffee are like the harmony filling out the chocolate melody–chocolate still takes center stage, but there’s an extra layer of richness and complexity to it.

A few notes, before the recipe:  If you can’t find muscovado you can find it online or you can simply substitute dark brown sugar–it still adds something that plain white sugar does not.  Don’t skip the icing–it’s incredibly easy.  And if you refrigerate this cake, it goes from being light in texture to incredibly fudgy and more brownie-like; my husband likened it to the filling of a chocolate ganache tart. 

Enjoy!

Muscovado Chocolate Cake

Cake

7 oz dark chocolate
1 3/4 sticks butter
2 T strong black coffee
3/4c dark muscovado sugar
4 eggs, yolks and whites separated
1/3c flour
1/4 tsp salt

Melt dark chocolate, butter and coffee in a double boiler (or carefully microwave on medium power, pausing every thirty seconds to stir). When melted, mix in half the muscovado.

Beat egg yolks with the remaining muscovado until pale. Stir in melted chocolate mix. Sift over flour and salt and fold in.

Beat the egg whites stiff and carefully fold in. Line an 8×8 baking pan with parchment paper and pour the batter in. Bake in a preheated oven at 350F for about 40 minutes or until a toothpick inserted comes out clean.

Icing

1/4c muscovado
1 T heavy cream
2 oz dark chocolate
4T butter

Melt muscovado and heavy cream in a double boiler (or microwave as above).  Add chocolate and butter and stir until it’s melted and smooth. Let cool a bit and pour over the baked cake.

Modern Baker Challenge: Blackberry Jam Cake

It’s interesting how there can be food trends just as much as there are music and clothing trends.  It shouldn’t be surprising that foods go in and out of fashion but it’s a little easier to forget that this should be so–unlike old styles of clothing, recipes that are no longer popular don’t leave so much of a visual imprint.  Similarly, you can easily be reminded of past music trends by tuning your radio.  Meanwhile if you happen across a really old cake, you probably would be best advised NOT to try it!

You’ll have to take the old recipe and actually bake it to see what it’s like.  Or get Nick Malgieri to sift through some old cookbooks and modernize the recipe for you.  That’s how this very retro recipe for a blackberry jam cake made it into the Modern Baker, and thus became part of the Modern Baker Challenge!

Being a big fan of blackberries, I had my eye on this one, though I hardly knew what to expect from it.  What’s different is that you add the jam directly to the batter–it’s not a cake with a jelly-jam center, or layers of cake sandwiched together by a layer of preserves.

Adding the jam was actually pretty fun.  First it looks like peanut butter and jelly swirled together.  That tan color is not from peanuts, however, but rather cocoa powder.

Then it gets blended to a bright but deep purple color.  You can’t see how bright from this photo, unfortunately, but I can tell you, you don’t often get a batter this color.  

The cake was truly unique.   The flavor was almost like a gingerbread–probably thanks not just to the jam but also to the combination of spices.  It’s different, without being too different, even the unadventurous can dig in.  Everyone who I had try it felt it was familiar, but couldn’t put their finger on exactly why.  This gave me plenty of opportunities to explain that blackberry jam (and cocoa powder) was the secret ingredient!  Everyone also enjoyed it, no one more than little E, who was nearly desperate for it.